Here is a simple way to implement a shopping cart in your PowerApp, just follow the steps below. I will demostrate with some sample data. The selected items will be added to or removed from the ShoppingCart collection as the user clicks on the check box. You can then use this collection elsewhere in your app, for example to submit orders once confirmed.
- Create a blank app
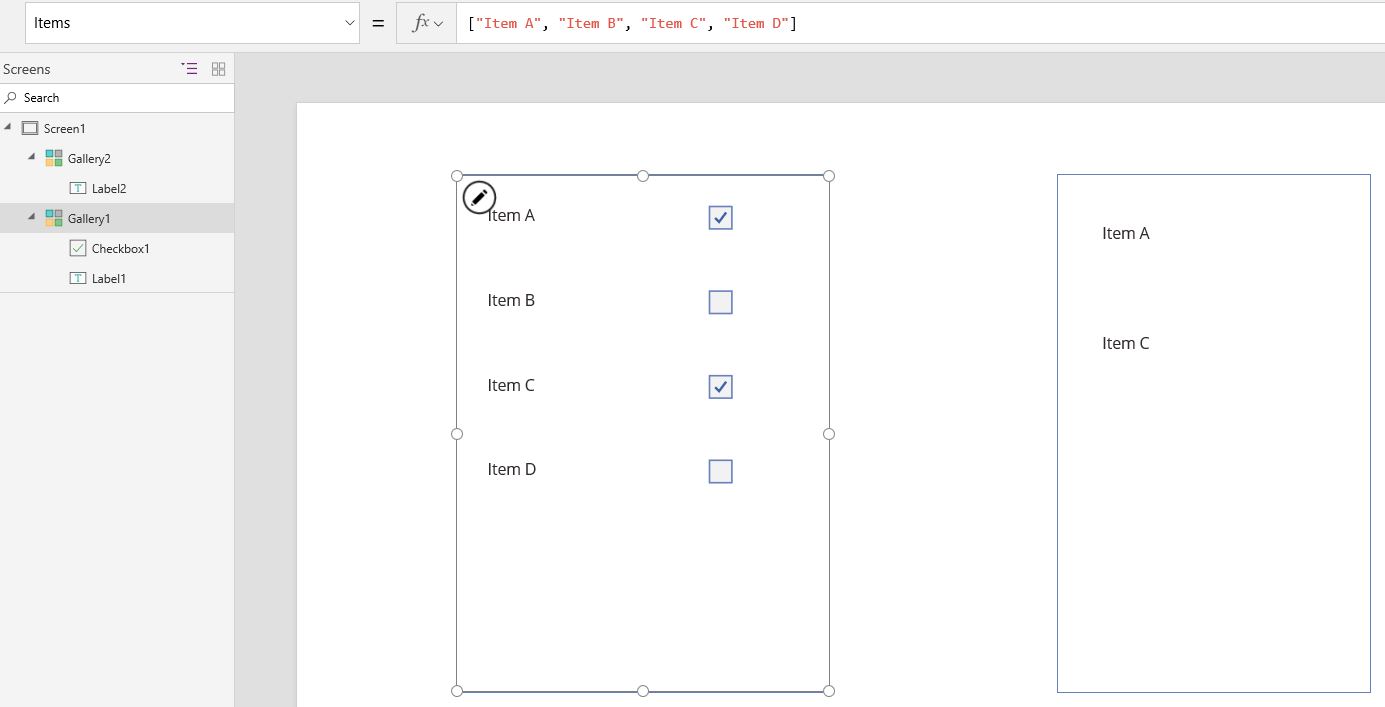
- Insert a two blank vertical galleries in your screen
- Set the Items property of the first gallery to:
["Item A", "Item B", "Item C", "Item D"]
(This will be a one-column table with column name “Value”) - Insert a label in the first gallery’s template and set its Text property to:
ThisItem.Value - Insert a check box in the first gallery’s template
- Set the Text property of the check box to:
""
(This gets rid of the annoying default text) - Set the OnCheck property of the check box to
Collect(ShoppingCart, ThisItem) - Set the OnUncheck property of the check box to
Remove(ShoppingCart, ThisItem) - Set the Items property of the second gallery to
ShoppingCart - Insert a label in the second gallery’s template and set its Text propery to
ThisItem.Value
That is all you need, completed demo is shown below.
Click ShoppingCart to download the PowerApp demo file.