
In this post I will outline how to set up an Azure SQL Database and connect it to PowerApps to be ready to create a full solution for a simple business case: assigning resources to projects.
Please read this post of mine to see if PowerApps and/or Azure SQL Database might be the right choice for you.
Before we begin, I assume that you can create PowerApps. In any case that is all well covered in the PowerApps site. I also assume that you have set up an Azure account, if not it is very easy to do so. For Azure, I currently use a pay-as-you-go subscription.
So here is what we are going to do:
- Set up an Azure SQL Database and obtain its credentials
- Create a few tables in your Azure SQL Database, and populate with test data
- Create a connection in PowerApps to your Azure SQL Database
- Create a new app to display and edit the data in Azure SQL Database from a PowerApps app
1. Set up an Azure SQL Database and obtain its credentials
This is very well explained in this guide.
Please follow the guide’s first three steps only:
- Create a database in the Azure portal
- Set up a server-level firewall rule in the Azure portal
- Connect to the database with SQL Server Management Studio (SSMS)
However, please note that:
- You will NOT need BCP and SQLCMD
- No need for elastic pooling yet
- Choose the Basic pricing tier, it is more than enough for a test
- Keep a note of the credentials (Server name, Database name, Login, Password) that we will need later to connect the database to PowerApps
- The server name should be something like this: mynewserver20170824.database.windows.net
After the first three steps you should have SSMS open and looking something like this:
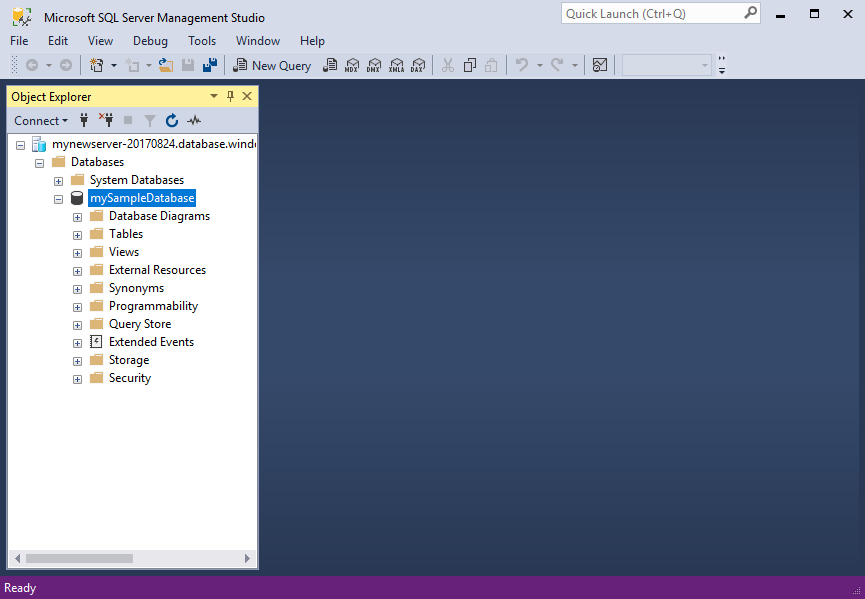
2. Create a few tables in your Azure SQL Database, and populate with test data
In the SSMS Object Explorer window, right-click mySampleDatabase and click New Query. A blank query window opens that is connected to your database.
In the query window, paste the following T-SQL query to create three tables in your database. After pasting the text, you will need to press the Execute button for the query to run.
-- Create Projects table

CREATE TABLE Projects
 (
 ProjectId INT IDENTITY PRIMARY KEY,
 Name NVARCHAR(50) NOT NULL
 )

-- Create Resources table

CREATE TABLE Resources
 (
 ResourceId INT IDENTITY PRIMARY KEY,
 Name NVARCHAR(50) NOT NULL
 )

-- Create Allocations table with a compound primary key. A primary key is required for any tables to be connected to PowerApps

CREATE TABLE Allocations
 (
 ProjectId INT REFERENCES Projects (ProjectId),
 ResourceId INT REFERENCES Resources (ResourceId),
 ResourceAmount INT CHECK (ResourceAmount >= 0),
 CONSTRAINT [PK_Allocations] PRIMARY KEY CLUSTERED
 (
 ProjectId, ResourceId
 )
 )
After executing the query, SSMS should look something like this:
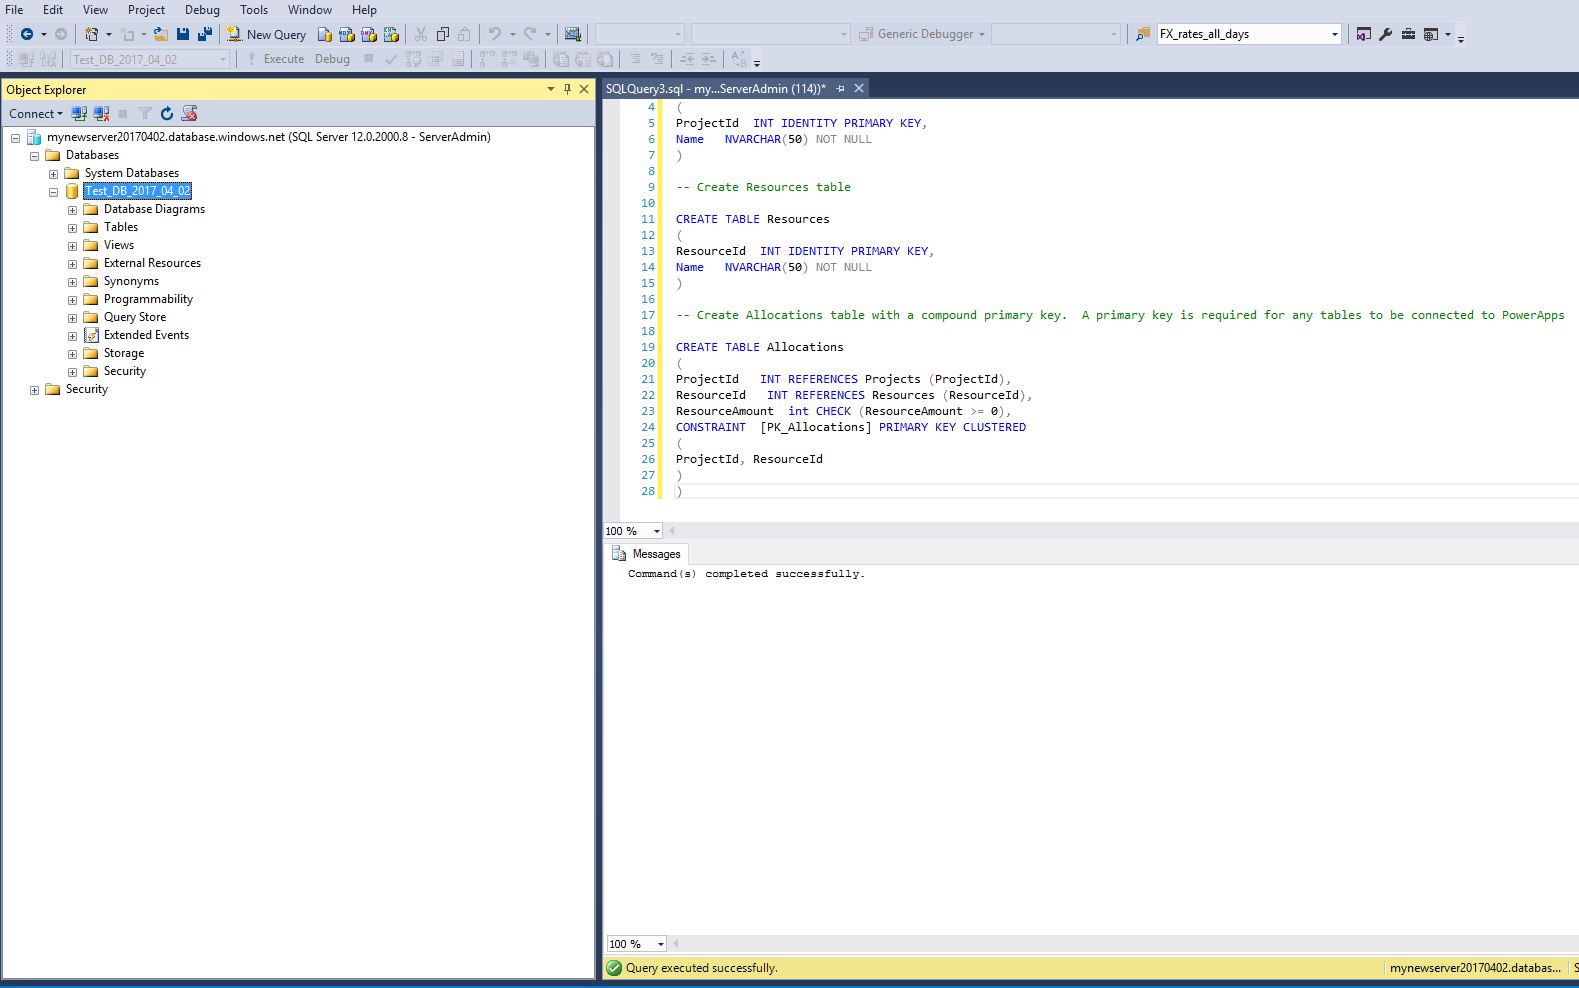
In the Object Explorer window, expand the Tables node to see the newly created tables.
You can now right-click the Projects table and choose Edit Top 200 rows. Now create three projects (Project A, Project B, Project C) as follows:
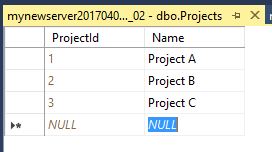
The ProjectId column will be populated automatically, do not worry if you make a mistake and the ProjectId numbers are different.
Now do the same for resources, creating: Resource A, Resource B, Resource C.
The Allocations table references both the Projects and the Resources table, and we will leave that table empty for the moment and populate it in PowerApps, but first we need to connect the database to PowerApps.
3. Create a connection in PowerApps to your Azure SQL Database
In order to create the connection between PowerApps and your Azure SQL Database you need to follow steps 1-5 of the instructions to Build and app from scratch which is part of the ‘Connect to SQL Server from PowerApps’ section of the PowerApps documentation pages.
- Specify Connect directly (cloud services)
- The server name, database name, user name, and password are the credentials we obtained in step 1 of this blog post
- The server name should be something like this: mynewserver20170824.database.windows.net
- You do not need Step 6 of the instructions (Create an app…) as this will be the subject of the next section of the blog
4. Create a new app to display and edit the data in Azure SQL Database from a PowerApps app
In order to create a blank app, you need to follow steps 1 to 5 of the instructions to Create a blank app, and connect to data which is part of the ‘Create an app from scratch’ section of the PowerApps documentation pages.
After Step 5 you should be able to select your SQL connection, and then click on ‘Default’. You should then select all the three tables we created above and click ‘Connect’.
If you now select the View tab and then ‘Data sources’ in PowerApps Studio, you should see all your three connected tables. Something like this:
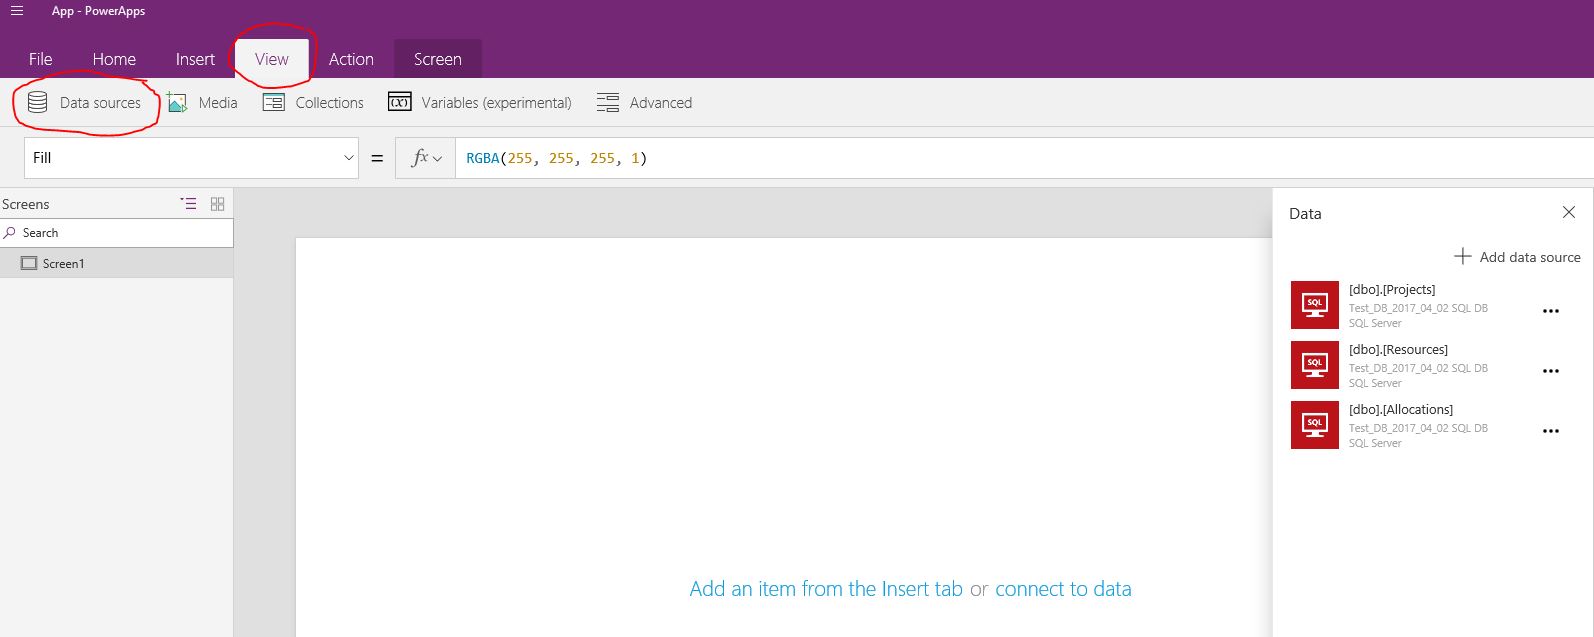
You now have a blank app which is connected to your Azure SQL Database and you are ready to develop your solution.
The development of the actual app is covered in this post.
Thank you for this insightful article. I really learned a lot, and as someone struggling with the transition from Access Web Apps to PowerApps, I can use all the help I can get!